How to Create TikTok Playable Ads Tutorial
Create TikTok Playable Ads Tutorial
Follow these steps to create and publish playable ads for TikTok Ads.
Overview
This guide will show you how to create and publish playable ads for TikTok Ads with 2DKit in just a couple minutes using your videos and images with easy-to-use 2DKit templates.
2DKit supports one-click publishing for TikTok Ads playable ad creatives.
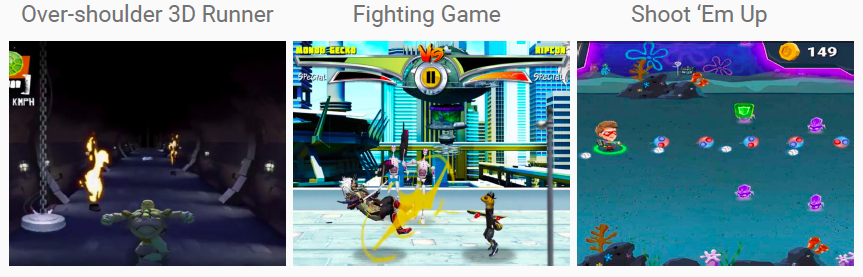
The total file size of this playable ad, a Shoot ‘Em Up game will be 239 KB (without gzip).
Since 2DKit delivers such small file sizes it is easy to stay under TikTok‘s 3 MB limit.
The published build contains a zip file with an index.html in the folder root.
Additionally all of the TikTok’s requirements and API integration are automatically handled when 2DKit projects are published as TikTok Playable Ads.
Video Tutorial
Play Now: TikTok Playable Ads 2DKit Tutorial
Sample Project
http://developer.2dkit.com/samples/playable-ad-shmup.zip
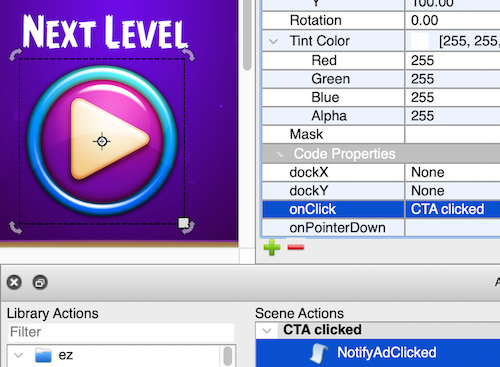
Handling the Call to Action
Handling the call to action with an Action in 2DKit Creator.
Drag the NotifyAdClicked action from the ez package folder.
This will call window.openAppStore(); if available.
A good place to put this call to action is in an end card game over screen.
Handling the call to action with code.
Add the following code to your game to handle the call to action.
System.notifyAdClicked();
This will call window.openAppStore(); if available.
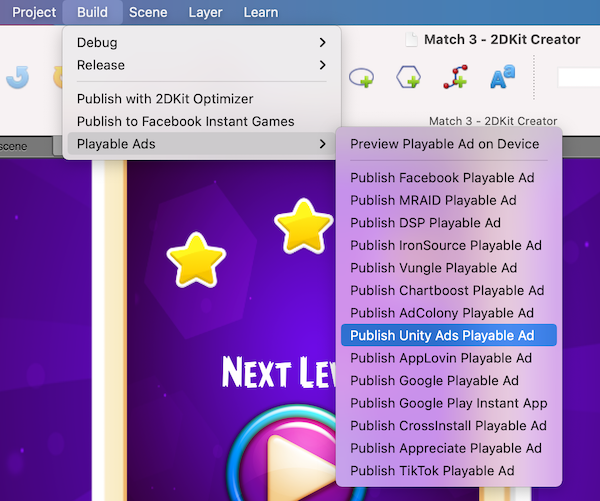
Publishing the Ad
To publish select the following menu option in 2DKit Creator:
Build->Playable Ads->Publish TikTok Playable Ad
2DKit will handle building the output in a way that is consistent with TikTok Ads’ requirements.
In addition 2DKit will also automatically optimize all files in a way that typically results in a 70-90% reduction in file size.
In the received zip file, unzip and locate the html file to verify that the index.html file is present.
Final Deliverable
The tiktok_ad.zip file is the only file that should be delivered for TikTok Ads.
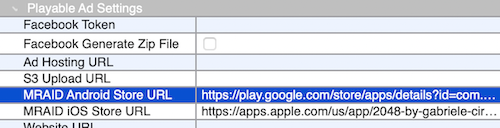
Playable Ad Settings
After you create your playable ad in 2DKit Creator select
Project->Project Settings
Then select the Playable Ads tab.
Testing in the TikTok Tool
Go to Tiktok Ads Manager -> Assets -> Creative
Then select the Playable Ads tab
Click Upload button
Then you will see an interactive preview and you can get a URL and a QR code.
Relevant Classes
http://developer.2dkit.com/api/ez/NotifyAdClicked.html
http://developer.2dkit.com/api/kit/System.html#notifyAdClicked